


Outdoor plumbing leaks, caused by sediment buildup and aging materials, can lead to significant damage. Regular maintenance, including effective sediment removal techniques, is crucial for prevention. Prompt identification of leaks through visual inspections, unusual noises, or water pressure issues is key to preserving system integrity. Essential tools for thorough leak inspections include gloves, a flashlight, a bucket, a drip detector, and a vacuum with a fine mesh attachment. Visual inspection should be accompanied by checking water meters and shutting off the main supply. Addressing leaks involves replacing damaged pipes, sealing joints, and removing sediment through draining and cleaning. Regular maintenance, such as pipe inspection, cleaning, and installing sediment filters, further prevents leaks and optimizes sediment removal for top-condition outdoor plumbing systems.
Inspecting outdoor plumbing for leaks is crucial for maintaining efficient water systems and preventing costly damage. This comprehensive guide delves into the common causes and effects of outdoor plumbing leaks, helping you identify red flags indicative of sediment buildup. Learn which tools are essential for the task and follow a step-by-step process to locate and evaluate leaks effectively. Discover repair strategies, preventative measures, and sediment removal techniques to keep your outdoor plumbing in top condition.
- Understanding Outdoor Plumbing Leaks: Common Causes and Effects
- When to Inspect: Identifying Red Flags for Sediment Removal
- Tools Required: Equip Yourself for the Task
- Step-by-Step Guide: Locating and Evaluating Leaks
- Addressing Leaks: Repair Strategies and Techniques
- Preventative Measures: Maintaining Outdoor Plumbing for Sediment Control
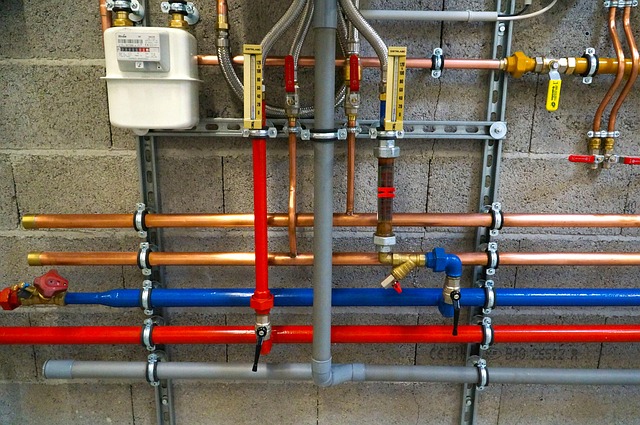
Understanding Outdoor Plumbing Leaks: Common Causes and Effects
Outdoor plumbing leaks can go unnoticed for extended periods, leading to significant damage and costly repairs if left unaddressed. Understanding the common causes and effects is crucial in preventing such issues. One of the primary reasons for outdoor plumbing leaks is sediment buildup. Over time, minerals, debris, and other contaminants can accumulate in pipes, affecting water flow and creating pressure points that lead to leaks. Regular maintenance, including effective sediment removal techniques, becomes essential to mitigate this problem.
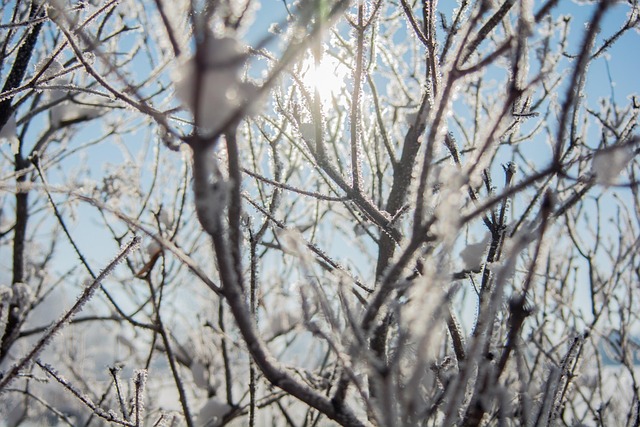
Another factor contributing to leaks is the aging of plumbing materials, especially in harsh weather conditions. Extreme temperatures, frost, and varying ground movements can weaken pipes, valves, and fittings, making them more susceptible to ruptures. Additionally, tree roots encroaching on pipes can cause damage by expanding and cracking the pipe’s structure. Prompt identification of leaks, whether due to sediment removal or material deterioration, is vital to prevent further complications and ensure the longevity of outdoor plumbing systems.
When to Inspect: Identifying Red Flags for Sediment Removal

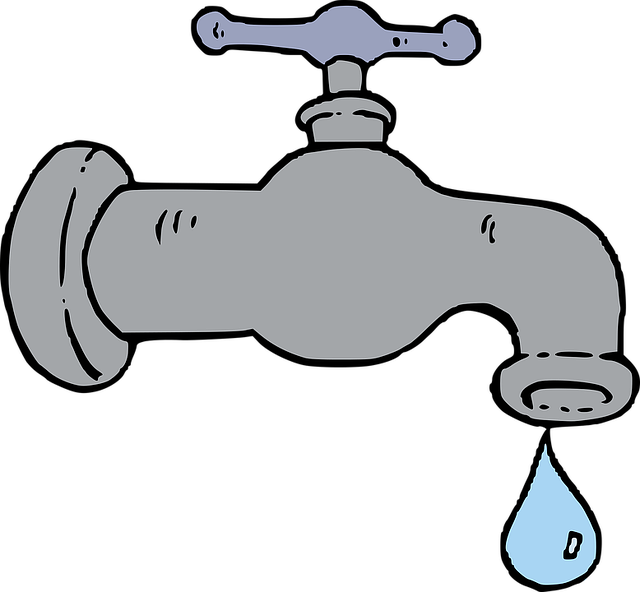
It’s important to regularly inspect your outdoor plumbing, especially during periods of heavy usage or extreme weather conditions, to ensure optimal performance and prevent costly damage. Keep an eye out for unusual noises, such as dripping water or persistent hissing, which could indicate leaks or pressure issues. Visually inspecting pipes for any signs of corrosion, rust, or visible cracks is another crucial step in identifying potential problems.
One often overlooked aspect of maintenance is sediment removal. Over time, sediments and debris can accumulate inside pipes, leading to clogs and reduced water flow. Look for red flags like low water pressure, sluggish drainage, or discolored water, which could suggest the need for sediment removal. Regular cleaning and flushing of outdoor plumbing systems can help maintain efficiency and extend their lifespan.
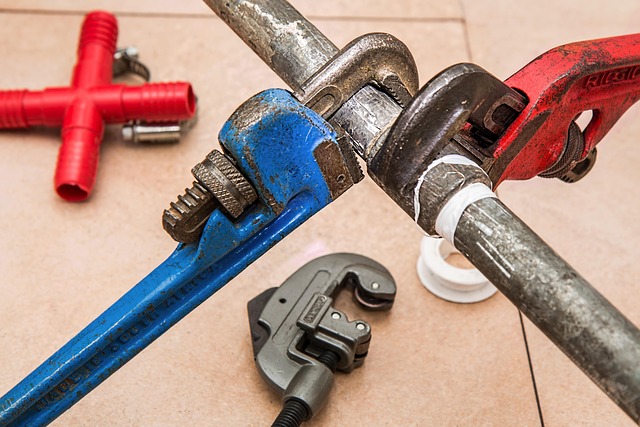
Tools Required: Equip Yourself for the Task

To effectively inspect outdoor plumbing for leaks, you’ll need a few essential tools to equip yourself for the task. Start with a good pair of gloves—they’ll protect your hands from any sharp edges or chemicals. Next, gather a flashlight to peer into dark areas and narrow spaces. A bucket and sponge are indispensable for catching and cleaning up any leaks or drips, which can help you identify their source. For visual clarity, consider using a dripping water detector or a leak-sensing camera that can pinpoint problems even if they’re hidden behind walls or under debris. Don’t forget to bring along a vacuum with a fine mesh attachment—this will be crucial for removing any accumulated sediment that could obstruct your view and complicates the inspection process.
Step-by-Step Guide: Locating and Evaluating Leaks
Start by inspecting your outdoor plumbing for any visible signs of damage or wear and tear. Walk along pipes, fittings, and valves, looking for discolouration, corrosion, or bulges that might indicate a leak. Check for moisture or wet spots around these areas, as these are clear indicators of water leakage. If you notice any potential issues, proceed to the next step.
Next, shut off the main water supply to your outdoor plumbing system. This is crucial before attempting any repair work or further evaluation. Once turned off, inspect the pipes and fittings again, this time with a focus on identifying locations where water might be seeping through. Look for signs of sediment buildup, as these can often hide leaks. Remove any debris or sediment using appropriate tools to ensure thorough inspection. By taking these steps, you’ll be better equipped to locate and evaluate potential leaks in your outdoor plumbing.
Addressing Leaks: Repair Strategies and Techniques

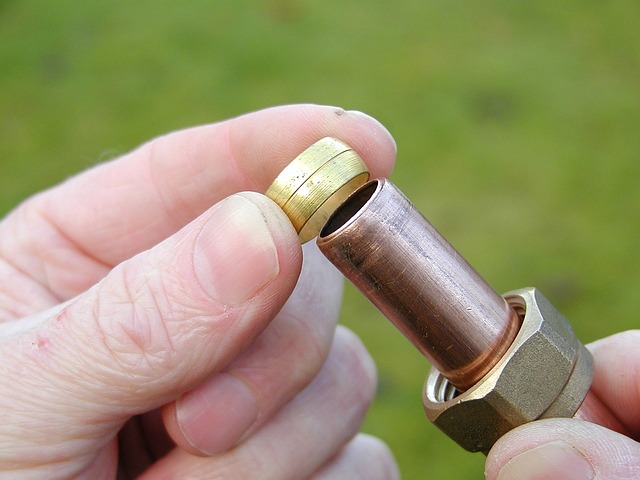
Addressing leaks in outdoor plumbing is a crucial task for homeowners, not just to prevent water waste but also to maintain the overall health of your property and surroundings. The first step is to locate the source of the leak, which can often be identified by visual inspection or through regular monitoring of water meter readings. Once located, different repair strategies can be employed depending on the type of leak and its severity.
For leaks stemming from pipes, the most common repair technique involves replacing the damaged section with new pipe material, ensuring proper sealing to prevent future issues. In cases where sediment removal is necessary, it’s crucial to first drain the affected area, clean out any debris or buildup, and then re-establish the plumbing system. This process not only stops water loss but also helps in avoiding potential damage caused by mineral deposits or blockages.
Preventative Measures: Maintaining Outdoor Plumbing for Sediment Control

Regular maintenance is key to preventing leaks and controlling sediment in outdoor plumbing systems. Start by inspecting pipes, fittings, and valves for any signs of damage or wear and tear. Regular cleaning can remove built-up sediment that may obstruct water flow and lead to pressure buildup, ultimately causing leaks. Consider installing sediment filters to trap particles before they enter the system, which will reduce the need for frequent maintenance and prolong the life of your plumbing.
Additionally, ensure proper drainage around fixtures and appliances to prevent water pooling, which can erode pipes and increase sediment buildup. Regularly clearing debris from drains and using biodegradable detergents can also help maintain a clean plumbing system. By implementing these preventative measures, you’ll not only reduce the risk of leaks but also effectively manage sediment removal, ensuring your outdoor plumbing remains in top condition.